Showing posts with label Cooking. Show all posts

Saturday, August 17, 2013

Home Made Tv Dinners

Do you like the convience of tv dinners but don't like the idea of their cost and what all is in them? I don't either. I want to know what is in the food I serve my family and keep costs down at the same time. By doubling up on what you are cooking one night you can make enough to have a meal for everyone another night during the next month or two. Or have lunches for those who have access to a microwave at work.

Tonight I made pork enchiladas, refried beans and rice. I made enough to serve 3 meals tonight and have 9 more to make tv dinners for lunches or dinner during the next two months. This will save me time later on and because I made everything home made it cost me less than buying 9 tv dinners at the store.


These trays are trays that my uncle got when he was getting meals on wheels for seniors. He would save the trays for me. Some of them are also trays that you get food in from a fast food place. I also have family members who buy tv dinners save their trays for me. The trays cost me nothing and I can use them over and over again.


As you can see some of the trays have two compartments and some have three. When there is two I will combine a couple of the meal components in to one compartment.


Most of my trays have lids. I put the lids on them, set them in the freezer to freeze. Once they are frozen hard I take them out and quickly take off the lids, cover with plastic wrap, put the lid back on and back in to the freezer they go. I do that just to give the food a little extra protection from freezer burn.  For the ones I have no lids for I cover them with plastic wrap and foil.


They stack nicely in the freezer and are ready to grab and pack in a cooler to take to work or to get one out and heat up when some one is hungry.

What you can not see is that I use a Dymo label maker to make labels of what each dinner is and place them on top of the lids. That way you don't need to open to see what the meal is.

I have made lots of different meals this way and my family loves having them on hand for days when I am busy or sick they have  complete home cooked meal with out me having to cook it.

Some of the meals I have made are as follows:

Meatloaf, mashed potatoes and corn
Roast beef, gravy, mashed potatoes and peas & carrots
Pancakes, scrambled eggs and sausage patties
Beef & Bean Burritos and Spanish rice
Chicken Stew & biscuits
Spaghetti and Meat Sauce ( only cook the spaghetti noodles half way done before freezing )
Mac & Cheese w/ little sausages
Ham Steak, Baked Sweet potato and mixed vegetables
Sliced Turkey breast, stuffing and green beans

I used frozen vegetable straight from the bags with out cooking them. They will cook while you are heating up the dinner. I use only round white potatoes to make the mashed potatoes because baking potatoes some times turn grainy when frozen. I prebake the sweet potatoes and let them cool completely before cutting in half and placing in the trays.

Once you get in the habit of making these home made tv dinners you will love them. They are really easy to make a cheaper than store bought. And you can make them the way you want them. :)


Thursday, July 25, 2013

Son's birthday cake

We like cakes but we get tired of frosting. Beside since two of us are diabetics we really don't need the super sweet frosting that most cakes have. So a couple of years ago I stopped using frosting except for very special occasions. Instead I use pie filling and cool whip to top cakes. This year my son asked if I could make him a cake with chocolate pie filling and cool whip on top. Since I like a  challenge I decided to give it a try and see what I could come up with. Here is the finished product.


I started with one white cake mix and made it according to the directions on the box except instead of using oil that was called for I use unsweetened applesauce. I divided the batter between 3 - 8 inch pans to further cut down on the amount of calories. I bake them for 30 minutes at 350 degrees. Once cooled I put a lid on one of the cakes and stuck it in the freezer for future use. I split all cake batters into 3 pans and usually freeze two and serve one. But this time I needed two. After the cakes were completely cooled I made up a box of instant chocolate pudding and divided it between the two cakes.


I then topped the cakes with cool whip and place the lids on them and popped them in the freezer to get good and cold. We had half of one of them for dessert that night and the next day the other one went with my son to a friends house the next night so they could pig out while playing video games.


He let me know that he would like to have this cake more often. Normally I make these cakes using cherry or blueberry pie fillings instead of pudding.

My son's birthday was last week and tonight I decided to pull out the third cake and top it with cherry pie filling and cool whip. The only problem was that I had forgot I used the last of the cool whip I had in the freezer when I made a cake to take to a dinner after then death of the father and husband of some friends of my son's and I. So I had to come up with another way to top the cake today. No big deal. I pulled out the vanilla ice cream and put a scoop on each slice. The men folk loved it. I will wait and find out tomorrow how good it is because I didn't want any cake tonight. :)


Here is the piece my son had tonight. Looks good doesn't it?

Friday, January 25, 2013

Cheesy Potato Bacon Soup

I didn't have time to take pictures while making this soup because I had to watch out for my husband who was outside helping my son get the snow blower going. My husband has severe COPD and he can hardly breathe in cold air.

This is a spin off that I came up with from an old Amish Potato soup recipe that I have been using for years. I tweaked the original recipe to fit my family's taste.


To make you will need:

8 slices bacon
6 medium potatoes, peeled and cubed
1 teaspoon minced dried onion (original recipe calls for one whole onion chopped)
2 teaspoons salt
4 tablespoons butter
4 tablespoons flour
1 cup cold water
6 cups milk
8 oz shredded sharp cheddar cheese

Chop bacon and brown in a skillet, set aside.

Place potatoes and onion in a large pot. Cover with water, add salt and cook till the potatoes are done. Drain. Mash slightly. Melt butter in a skillet, add flour and cook for one minute. Add the 1 cup water and cook till thickened. Add to the potatoes and then add the milk. Add bacon and the drippings. Then add the shredded cheese and some black pepper and cook on med heat until thoroughly warm and thickened and the cheese is melted. Serve with sandwiches or crackers.

For those that are like me and do not like cheese plain potato soup can be pulled out of the pot and set aside before the cheese is added to the pot.


                                                                Plain Potato Soup

Thursday, January 24, 2013

Smoked Sausage Soup

It's really cold here again today so I decided to make a pot of soup. I haven't made Smoked Sausage soup in a few years so it was past time to make it again. It's been so long since I made it that Hubby doesn't remember me ever making it before but I can assure him I have. :) The last time I made it I used my biggest crock pot and between him and my oldest son they ate the whole pot of soup. LOL


                                              Doesn't it look good? And it taste so yummy!!

To make the soup I started with:

 a half a package of Eckrich smoked sausage.
1 cup of dehydrated mixed veggies which equals a 16 oz bag of frozen veggies
2 med potatoes, peeled and cut into cubes
2 cups chicken broth
2 cups water
1 bay leaf
1 teaspoon salt
1/2 teaspoon black pepper
2 teaspoons dried parsley
2 teaspoons dried minced onions


   I sliced the sausage, peeled and cut the potatoes in cubes and added them both to the crock pot.


      Then I added the dehydrated veggies, the salt, pepper, parsley, dried onions and bay leaf.


Lastly I added the 2 cups water and 2 cups chicken stock. I turned the crock pot on high and let it cook for 8 hours. Hubby and I each had a nice big bowl and there is enough left for our lunch tomorrow. :) I love a good pot of homemade soup on really cold days.


Home Canned Pot Roast Dinner


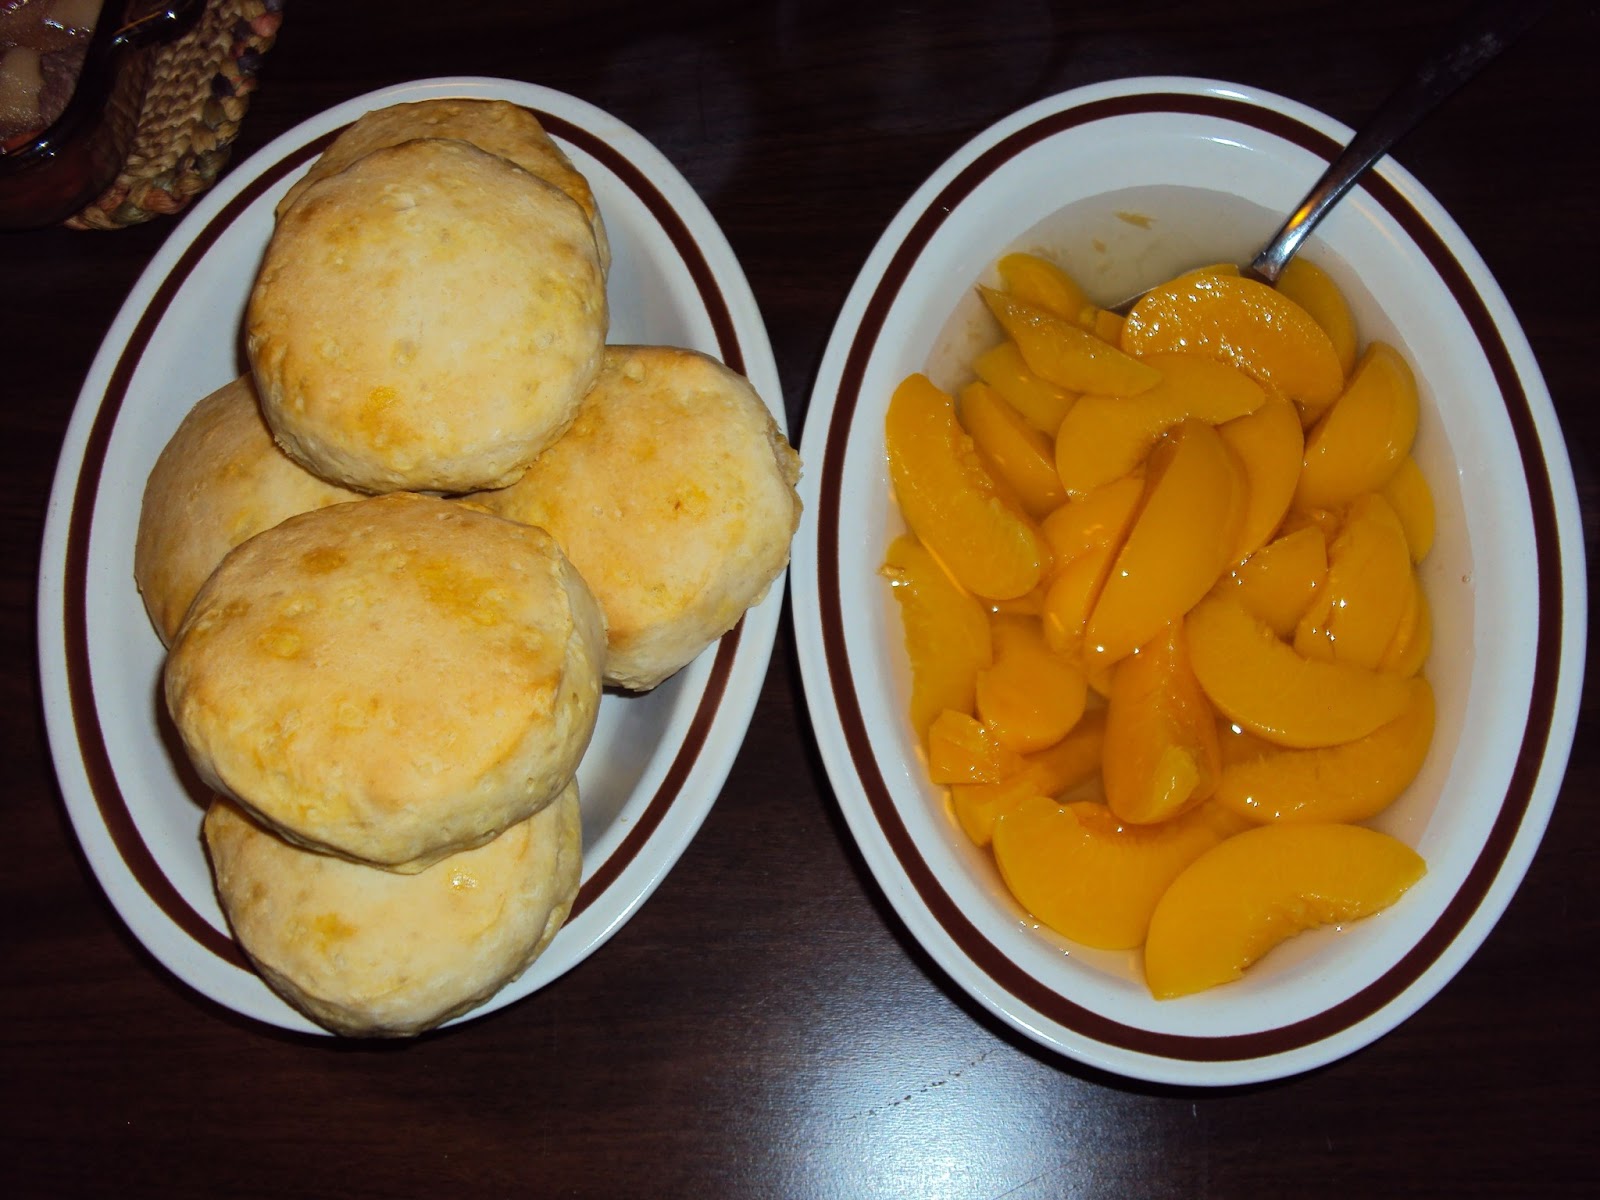
Yesterday I was pretty tired all day and didn't feel like taking the time to cook a whole meal from scratch so I pulled out two jars of the pot roast w/ potatoes and carrots I canned a month or so back.  A store bought can of peaches and a can of biscuits that I had gotten on sale last week in a buy 2 get 3 free deal.  I dumped the jars of pot roast in a baking dish.


Placed it in a 375 degree oven and let it heat up for 20 minutes then I  but the biscuits on a baking sheet and placed them in the oven. I opened the peaches and placed them in the freezer to chill a bit.


Not a fancy meal but a filling one that took me all of about 5 minutes to prepare and clean up was minimal.  I love meals like that on days I just don't feel like cooking. And there is no running out to a restaurant or getting take out which can blow a budget really quick. :)

Just one of the many reasons I am a prepper and proud of it!

Saturday, January 19, 2013

Chicken and Dumplings

My 15 year old grand daughter Aliza was over today and she wanted to learn how to make Chicken and Dumplings. Oh how I wish I had thought to take a picture when they were done. She did and excellent job!
The dumplings came out nice and tender and were not gummy. :) I am really proud of the job she did. She is going to be quite a good cook when she gets older. She is good at following directions and excellent at paying attention when some one is telling her how to do something. I told her if she decides to go to Culinary School that I would gladly be her first Guinea pig when it came to taste tasting her creations.

While I forgot to take a picture I can give you the recipe. This is one that I came up with on my own when I was trying to learning to make Chicken and Dumplings. It took me 3 tries before I got them the way we like them. This recipe makes a double batch that will feed 4 adults or two adults and 4 small kids of course all this depends on how much each person eats.

Chicken and Dumplings

4 quarts chicken broth
2 -3 cups cooked shredded chicken
4 cups flour
4 teaspoons baking powder
1 teaspoon salt
2/3 cups shortening
2/3 - 1 cup milk

Place broth and chicken in a large pot and let simmer while making the dumplings. Mean while mix the dry ingredient in a large bowl. Add shortening and cut in till mixture resembles coarse cornmeal. Add enough milk to make a stiff dough. Turn out dough on to a smooth floured surface and knead 5-6 times. Roll dough out into a 1/2 inch thickness. Cut dough into squares about 2 x 2 inches. Drop the squares into the broth one at a time until all are added. Once the last dumpling is added cover the pot and let cook 10 minutes. Turn off heat and serve in bowls and add some of the broth. Make a nice warm filling meal for a cold winters night. :)


Saturday, January 5, 2013

Stuffed Hot Dogs

One of my family's favorite dishes is stuffed hot dogs. Most people look at me funny when I mention that. They have never heard of hot dogs being stuffed. But once I give them the recipe and they try them most people love them. One thing bad about them is they are not the most sodium friendly meal that is why I only fix them once every 2-3 months. They are easy to make and do not take a lot of ingredients and they are very YUMMY!!


To make stuffed hot dog you will need:

1 lb hot dogs
1 slice of bacon per hot dog
3-4 slices white bread
1/2 teaspoon dried parsley
1/8 teaspoon black pepper
1/3 cup water ( maybe more or less depending on the bread)
2 toothpicks per hot dog

Cut the hot dogs length wise but do not cut all the way through. Tear the bread in to pieces, sprinkle parsley and pepper over the bread. Add just enough water to make a wet stuffing that will hold together but not enough water to make to wet.


Stuff each hot dog with about 1 to 1 1/2 tablespoons of stuffing.  You can add shredded cheese to the stuffing if you wish before stuffing the hot dogs.


Wrap one slice of bacon around each hot dog and secure both ends of the bacon with a toothpick. Cover cookie sheets with foil and spray with a light coating of cooking spray to help keep them from sticking. Place hot dogs on prepared pans and place in 350 degree oven. Bake for 20- 30 minutes depending on how dark you want your bacon to be.


Remove from oven and serve. Makes 4-5 servings depending on the number served to each person. I serve two person.


I have yet to see a kid who does not like these. Just make sure to remove the toothpicks before serving to small children. They make a great party food to because they taste just as good when cool as they do when hot out of the oven. I like to eat them cold after they have set in the refrigerator overnight.

Give them a try and I bet you will like them to. :)

Saturday, October 13, 2012

Chocolate Gravy, YUCK!!

Hubby is a true southern boy and I am a true Yankee girl. Our kids were born Yankees but you would think they were born and raised southern with the way they love Chocolate gravy. I am the only member of the family that hates the stuff yet I am the only one that cooks it. How in the heck did that happen?? LOL

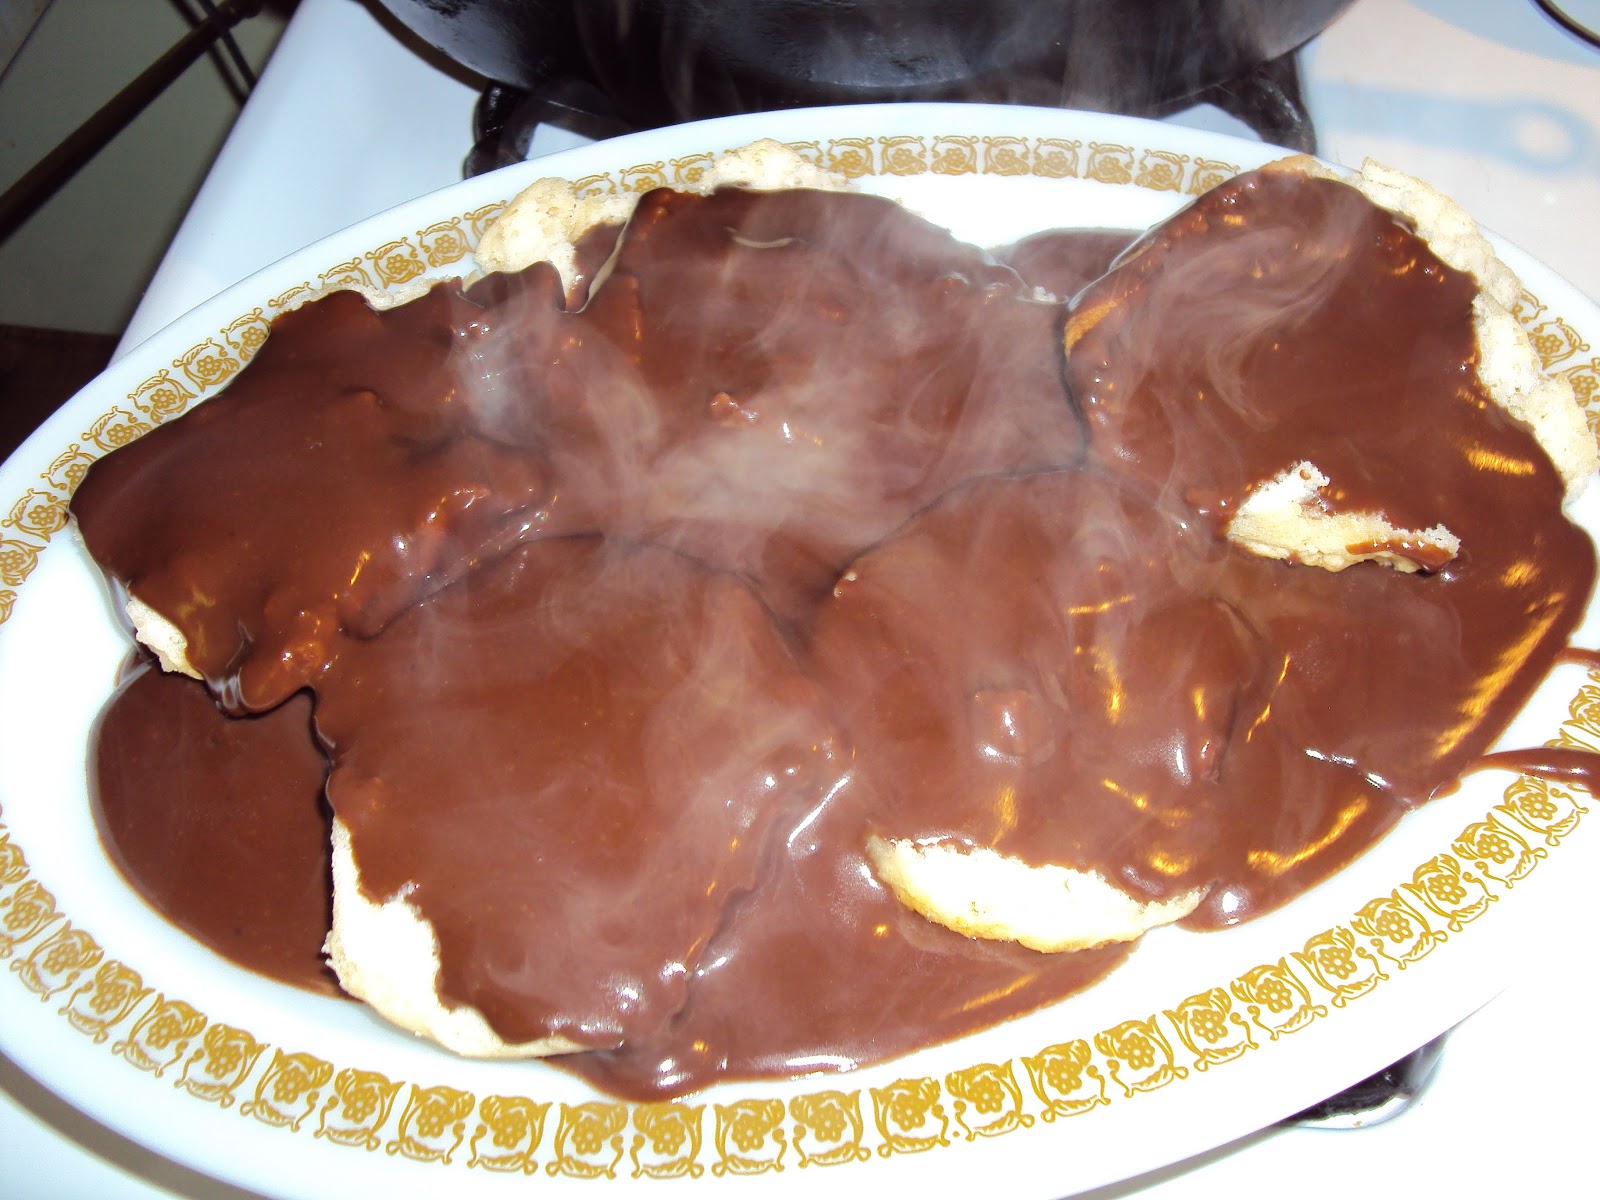
Anyway the other day hubby wanted Chocolate gravy and biscuits for breakfast so I got roped in to fixing him some. Here is the results.


As you can tell by the steam rising off them they are good and hot. Now if only I could figure out the health benefits of eating them. I have been trying to figure that out for over 35 years and still no closer to knowing then the first time I learned to make them. Hubby's dad taught me how to make them.

What is surprising is that I am a chocoholic and I can't stand Chocolate gravy. Could it be the creamyness of the milk that I am missing since Chocolate gravy is made with water instead of milk? One may never know but as long as it makes hubby happy to have his Chocolate gravy and biscuits who and I to argure. :)

Tuesday, October 2, 2012

Hot Roast Beef Sammies-YUM!


We love hot roast beef sammies with mashed potatoes and gravy. Its one of our favorite comfort meals on a cool fall night or cold winter evening. Add some hot maple glazed carrots and a side salad and you have got yourself one nice tummy warming meal.

I made the roast beef sammies and gravy from a jar of rump roast that I sliced and canned in beef broth last year. A quart jar of the meat will feed 4 adults unless you gave got one 6ft 4 inch hallow from the legs up, son in the house. Then you are lucky is there is enough for 3 adults. LOL

.
To can the rump roast, I sliced in half from one side to the other because it was too thick as is. Trimmed off what little fat was on them then sliced each half in to 1/4 thick strips. I browned them all in just a tiny amount of olive oil then drained the slices on paper towels to remove as much of the oil as I could. I had made up a beef broth earlier using low sodium beef soup base. I put the strips in quart jars then covered with the hot broth leaving a 1 inch head space. Wiped down the rims and placed the lids and rings on the jars. I then placed the jars in the hot water that was in the pressure canner, put the lid on and processed them for 90 minutes.  As you can see from the picture above what little oil and fat that remained floated to the top and semi hardened. It didn't hurt anything.

When I opened the jar to made the hot roast beef sammies I scooped out the fat and then just poured the broth into a skillet, added two cups water because the broth was a little to strong, brought it to a low boil and then added a slurry of cornstarch and water. Once it started to thicken I added the meat in carefully as I didn't want it to fall all apart. I let it simmer on low heat for 15 minutes. When I was ready to serve it I laid 2 pieces of bread on the plate and cut them in half, I removed the top slice, using a slotted spoon I place some of the meat on top of the first slice then added the top slice. Scooped the potatoes between the two halves and then ladle gravy over both. It was yummy and the family didn't leave any left overs. :)

This was my last jar of home canned rump roast so next time I catch rump roast on sale again I will have to buy 4 or 5 more to can. I love having home canned meals at the ready for those days I want and easy cook day. :)

Friday, September 28, 2012

Easy Peasy Stuffed Turkey Rolls


I haven't been able to blog for awhile because my garden finally came in so I have been busy canning. Plus I was busy caring 24/7 for a disabled uncle. His dementia and sundowners was getting worse and wearing me out. He went into a nursing home last month because I could no longer care for him 24/7 I am sorry to say.

For dinner tonight I made stuffed turkey rolls, mashed potatoes, mashed sweet potatoes, home canned green beans and opened up a can of jellied cranberry sauce. The men folk must have really liked it because they cleaned their first plates and went back for seconds. LOL

A couple of weeks ago our local store had Jenni O turkey tenderloins on sale for buy 2 get 3 free. I got 10 of them total. I took one package today and sliced the tenderloins in half from side to side, end to end. Pound each one out a little between two pieces of plastic wrap to make them about a 1/4 inch thin. Then I took some store brand chicken stuffing mix, made it up and put two scoops on each piece of turkey, rolled them up and secured them with a tooth pick at each end. Place them in a casserole dish and then placed the rest of the stuffing in the middle. Placed in a 350 degree oven for 45 minutes then took them out, opened a jar of roast turkey gravy, spooned it over top of everything and placed back in the oven for another 15 minutes at 400 degrees.


Before cooking of course. :)


Lookin good!! YUM!!!


Tender, moist and oh so yummy!! :)

An easy peasy Thanksgiving style dinner for any day of the week. Have I made you hungry yet?

Wednesday, June 13, 2012

Cleaning cast iron


I love to cook in cast iron however some times when foods get stuck in the pan its a pain to have to soak hen srub the stuck on food and then having to reseason the pan. A few years ago I learned the easiest way ever to clean stuck on foods and not have to reseason it. While the pan is warm scrap out all the stuck on food with a metal spatula. Then pour about a half a tablespoon of oil into the pan and add a big pinch of koshar salt. Take a couple of paper towels and scrub the salt and oil all over the pan to loosen any bits of stuck on food still in the pan. When you have it all loose simple wipe out the salt and oil. Take a clean paper towel to wipe out any remaining oil and you are all done. Your pan still has it's beauitful shiny non stick surface and you didn't have to spend an hour or so heating up the kitchen with you oven just to reseason your cast iron. Simple, cheap and easy. The three things I like most when it comes to cleaning. :)

Tuesday, April 24, 2012

Beef Stroganoff


For dinner tonight I made a quick and easy Beef Stroganoff by using home canned stew meat and homemade powdered mushrooms. It must have been good since they did not leave anything. :)

No one in my family likes mushrooms including me but I feel they do have some value in our nutrition so I set out to find a way that I could include them in to our menus. Last year I bought and Excalibur Food Dehydrator and starting dehydrating food for the first time. I love using the dried foods in my daily cooking. Then I heard about vegetable powders made from dehydrated foods so I decided to try making mushroom powder. After drying the mushrooms according to the directions I then ran them through a food processer. They didn't come out finely ground as I wanted so I decided to run them through my coffee grinder that I bought just for grinding herbs and spices. Worked great as you can see below.


To make the stroganoff I used two 12oz jars of stewmeat that I had canned last year, placed them in a pot, added two cups of beef broth and one tablespoon of the mushroom powder. Brought it to a good simmer then added three cups of egg noodles. Covered and cooked until the noodles were done. Added a little cornstarch slurry to thicken the broth and sourcream. And I was done. A main dish that would take me normally at least 30-40 minutes done in less than 20. I served it with corn on the cob and a tossed salad.

My own little hamburger helper type meal only better for us because I controlled the salt and it was healthier to because I used lean stew meat instead of fat laden ground beef. And it was cost effect to because I bought the roast on sale that I cut into stewmeat when I canned it. The roast was on sale for $2.29 a pound and ground beef at the time was $2.99 a pound.